Setting up Cloudflare Pages with SvelteKit
This post explains how to set up a Cloudflare Pages project using Github and SvelteKit in a step-by-step manner. Please be aware, that both SvelteKit and the functions part of Cloudflare Pages are still in beta at this point and things may change.
Create a new Github repository
In order to get started, you need to create a new Github repository. As of now, both private
and public repositories are supported. You can pick any name for your repository, but for the remainder of this
guide, cf-pages-test is used as repository name. Just make sure you check the box labelled “Add a README file” like
you can see in the picture below. This way, a main branch is created which you can then use in future steps.

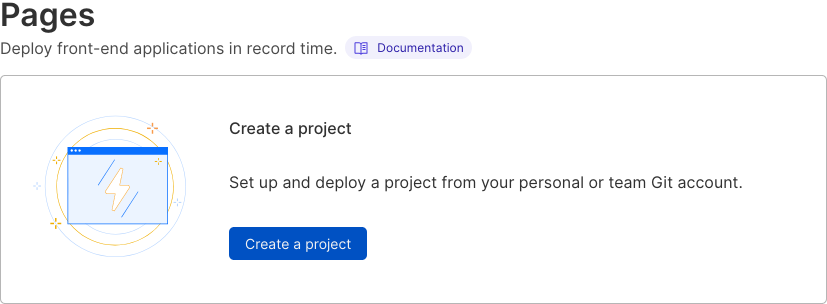
Create a Cloudflare Pages project
If not yet done, create a new Cloudflare account. After that, log in and navigate to the “Pages” section on the Cloudflare Dashboard, which is not to be confused with the “Websites” section. On the startpage of this section, you get the opportunity to create a new project, like shown in the image below. To continue, press the “Create a project” button.
In the next step, you are offered to connect to a git provider. Cloudflare Pages supports both Gitlab and Github. Use
the “Connect to Git” button and follow the presented steps to connect to your Github account. Once you’ve connected to
your account authorized Cloudflare Pages to access your new cf-pages-test repository, you can select the repo and
continue to the project build settings. For this example we’ll just use the main branch as production branch.
Inside the build settings, you can name your project, set a production branch and much more. To configure for the use with SvelteKit, you need set the option like the following:
| Option | Value |
|---|---|
| Framework preset | None |
| Build command | npm run build |
| Build output directory | .svelte-kit/cloudflare |
As of September 2022, SvelteKit needs Node.js 16 to run a build, but Cloudflare Pages runs a different version by
default. To change this, you can tell the desired version via an environment variable inside the section “Environment
variables (advanced)” at the bottom or your build settings. Add a new variable called NODE_VERSION with the value
of 16. When you’re done configuring, press ‘Save and Deploy’. This will trigger a deployment of your project, which
will fail for now, because you haven’t yet added something buildable. This, however, will change with the next step!
Initialize and deploy a SvelteKit app
Now it’s time for the fun part, for which you’ll want to make sure you have Node.js 16+, npm and Git installed and set
up on your machine. Open up a terminal, clone your cf-pages-test repository and initialize SvelteKit with the
following commands:
git clone git@github.com:<YOUR_GITHUB_USERNAME>/cf-pages-test.git
npm create svelte@latest cf-pages-test
This will tell you, that the target directory is not empty, which you can just confirm. After that choose the “Skeleton project” template and answer the remaining questions to your preference. After this there are only a few things left to do, namely committing the code and pushing it to Github:
cd cf-pages-test
git commit -am "Initialize SvelteKit"
git push
The push will trigger a new deployment of your app to Cloudflare Pages and since you’ve set up SvelteKit, there is something to build now. You can check the deployment progress on the Cloudflare Dashboard, it should be done in about half a minute. Afterwards you can access your app at the URL displayed within the dashboard.
Great, you’ve set yourself up for continuing development of your app, as each subsequent push to the main branch will
trigger a new deployment. By default, pushing to any other branch will trigger a preview deployment of new commits to
check the result before pushing to production. You can find the preview URL within the deployment view of your project
on the dashboard. If you’d like to change the default behavior, you can do so in the “Builds & Deployments” section
within your project settings.